Bootloader Unlocking for Samsung Galaxy S10 and S20 Devices

Some said it was impossible. Others dared to try. I dared to spend $100 and download a sketchy USB Redirector software to have someone else run their custom tool remotely to unlock my device. I had the resolve. I dared to swipe my credit card.
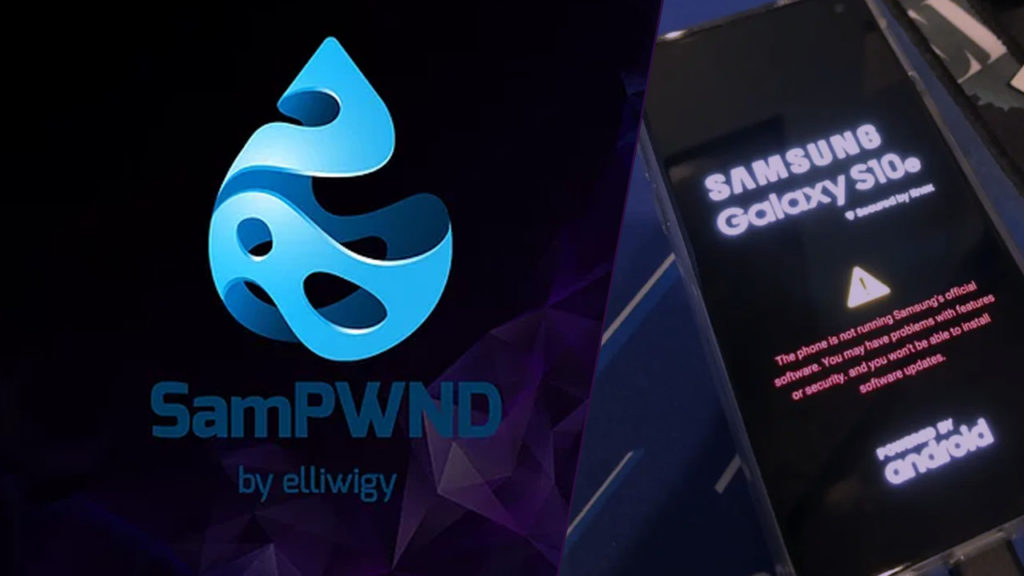
SamPWND Bootloader Unlocking for SM-G970U AT&T Model

It's no secret that Samsung devices have shipped with permanently locked bootloaders on most US carriers for many years now. I recently purchased a used S10e SM-G970U ATT and was unfortunately reminded of this. Somehow I had forgotten what a pain it was to unlock these things before my purchase. After some research when I found the OEM unlocking feature in Developer Options was missing in Android. Some more research later I learned that unlocking is in fact possible. Possible if you have the means. A functional exploit for S10, S20, and Fold/Flip devices does in fact exist to unlock the bootloader but it is private and proprietary. I purchased an unlock for $100 flat from https://www.sampwnd.com/ and it worked great. Hopefully this exploit is released to the public in the future but this is out best shot currently.

More information on requirements and supported devices and be found in elliwigy XDA developers post: https://forum.xda-developers.com/t/sampwnd-usa-model-bl-unlock-info-u-u1-w.4201689/

So I provided my DID adb shell getprop ro.boot.em.did and paid my hundred bones. Then I waited for a Discord message. They can either contact you with Telegram or Discord it's up to you. After getting a message to download some software called usbredirector-customer-module.exe I connected to their session with my device in Download Mode and within 10 seconds my device rebooted with an unlocked bootloader.

Was it worth it? I think yes.

checkra1n Linux Live USB (Minimal Linux)

When it was first announced that the iOS and tvOS jailbreaking tool checkra1n would get an official release I had a new idea for a project. An absolute bare-bones minimal Linux environment that could be used to kick start your device back to a jailbroken state. The original goal of the project was to keep the complete ISO file including Linux 5.4 and the latest checkra1n binary under 50MB. I was unable to squeeze in under my goal but the total required disk size for install is 64MB. Still substantially smaller than any other live environment with a modern Linux Kernel. Read more about my project or download from my GitHub page downthecrop/checkra1n-linux

EDIT: Version 0.9.8.2 has been reduced in size to 44MB and boot times have been reduced! Please update if you are using 0.9.8

Installation Guide

Writing Instrutions:
Download Rufus: https://rufus.ie/
Burn to USB Flash Drive or CD/DVD

When booting please wait for the timeouts of both prompts to ensure correct mounting.

You can run checkra1n again while in Linux with #: ./checkra1n or #: ./checkra1n -c

Write using DD mode instead of ISO mode.

Want to jailbreak iOS using your Android phone? Check out my checkra1n Android TWRP app here: https://downthecrop.xyz/blog/jailbreak-ios-device-with-android-phone-checkra1n-twrp-app/

Official Release checkra1n for Linux Tutorial Guide

Official release of checkra1n for all Linux distributions. Watch my tutorial video here

It's finally here! checkra1n for Linux without the use of any kind of emulation was officially released today. This can be run on any and all Linux distributions and was released for ARM and ARM64. This will be able to run on laptops, desktops and desktop pcs, and Single Board Computers (SBC) like the Raspberry Pi. Simply navigate to the official checkra1n website and download the latest version of the precompiled binary release. You will need to add the execute flag

chmod +x checkra1n

once you have added the execute flag to the binary open a terminal and execute the command

sudo ./checkra1n

for the full command line or CLI version of checkra1n without ncurses that can also boot a device that is already in DFU you can use the command

sudo ./checkra1n -c

For a complete step by step guide of using the new checkra1n for Linux you can follow my YouTube guide here

Tutorial: How To Run checkra1n on Linux via QEMU macOS Virtualization

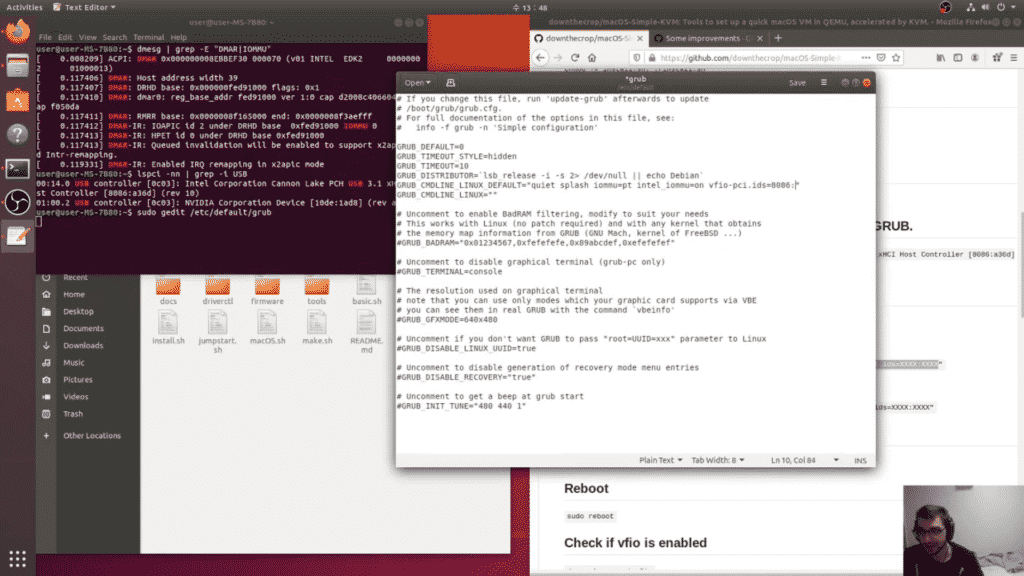
YouTube tutorial on how to enable IOMMU passthrough to QEMU virtual machine on Ubuntu 18.04 host.
checkra1n on Linux using IOMMU PCI USB pass through tutorial on YouTube

Edit February 5 2020 : There is now an official checkra1n release for Linux with no QEMU or Virtualization required! Watch my video here!

Introduction

Hey jailbreakers!

I've got a simple step by step guide on how you can dual boot Windows 10 and Ubuntu Linux 18.04 to run the checkra1n jailbreak tool! Be warned that setup is a little technical and will likely take around an hour. Lets start!

Hardware Compatibility Requirements

First off you're going to need to have a 64-bit processor that has virtualization enabled. You can check this in msinfo32.exe on Windows. Check "System Type" and scroll down to the Hyper-V entries. If System Type is "x64-based PC" the Hyper-V settings are "Yes" you have a CPU with the requirements.

Ubuntu 18.04 Install USB

Download the Ubuntu 18.04 ISO and use the rufus disk imaging tool to write it to any USB flash drive/thumb stick that's 2GB or greater.

Windows 10 Partitioning & Linux Installation Alongside Windows

You also need to partition some free space away from your Windows 10 Installation. Using the Disk Management diskmgmt.msc shrink your C: Volume by 25000MB and leave it as unpartitioned free space. Now boot from USB and run the installation utility in Ubuntu. Select "Install Ubuntu alongside Windows" If this open isn't there please don't continue with the guide as your may accidentally format your drive. Choose a username and password in the setup then click install. Wait for the installation to complete and then reboot into UEFI/BIOS to change the boot priority of your drive to default to Ubuntu. While you're in UEFI/BIOS you must also enable your CPU virtualization technology settings. Save and quit F10 and boot into your Ubuntu install.

Following GitHub Guide

From here you are ready to follow the instructions explained in the GitHub README.md so continue from there. Good luck!

checkra1n on PC/Linux via QEMU macOS Virtualization

Tutorial Guide checkra1n macOS on PC using QEMU and USB Passthrough: https://downthecrop.xyz/blog/tutorial-how-to-run-checkra1n-on-linux-via-qemu-macos-virtualization

EDIT: I have now successfully achieved checkra1n on Ubuntu Linux 18.04 using QEMU and IOMMU Pass through. Installation scripts coming soon!

I have a work around using a live Linux USB. There is no offical release for Windows and Linux currently so macOS must be virtualized using KVM and IOMMU groupings.

Watch my YouTube video explaining my virtualization approach

The checkm8 jailbreak implementation called checkra1n was released Sunday November 10th 2019 but only for macOS. This wasn't done to spite non-apple desktop users. The checkm8 exploit relies of precise control of the desktop USB stack to manipulate DFU mode.

Due to the precision of this communication they needed to craft the checkra1n desktop application to work with the the USB stack. The first USB stack they targeted as macOS, likely due to the developers familiarity with it. You can read more about the exploit in @qwertyoruiop talk at POC2019 which I attended.

So here's the work around. A disk image you can flash to any 16/32GB USB flash drive to boot into which will provide the macOS Virtual Machine and provide USB passthrough.

This is possible and I can get this working. Just give me another few days. You'll just need a 16/32GB USB drive and to boot into a live linux distro, run a script, and then you'll have a macOS Virtual Machine is USB passthrough for use with checkra1n. VirtualBox and VMWare WILL NOT WORK for checkra1n. You need to have lower level access.

About VM's and how this would work:

Stay tuned. I'll have an update soon. You can watch my YouTube video linked above.